
|
| This sucker was four years in the making! I started it in 2001 but wouldn't finish until 2005. I had stopped building models momentarily in 2001 due to lack of space, tools and the extra skill to build models with more attention to detail. I started back up early 2004 after gaining some confidence and tools. I was now ready to finish this model. |
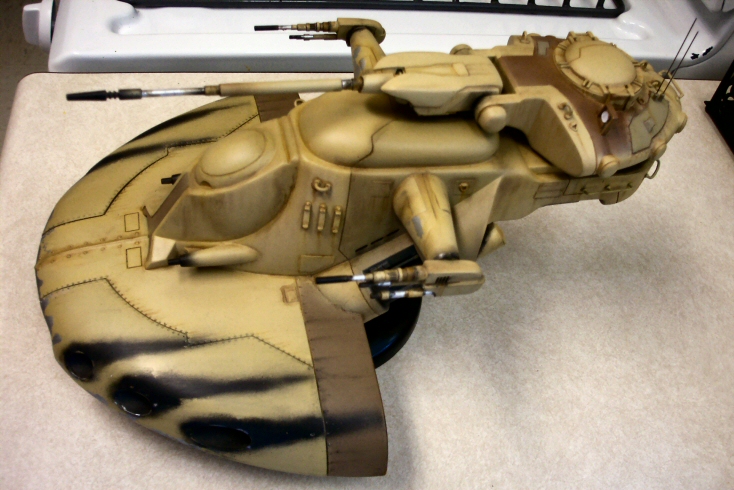
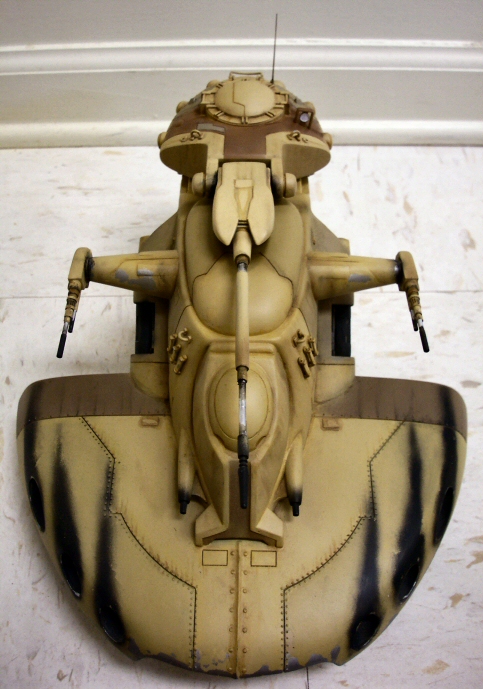
| The best thing about this kit, in my opinion, is that while there may have been a physical model built for the movie, to my knowledge, most on-screen were digital. That really helped to minimize the need to build a completely movie accurate model. The paint scheme, for example, differs a bit from the AMT paint instructions and actual movie version. I avoided getting caught up in researching the exact colors and went with what I felt looked good. I did, however, put effort into allowing for the scheme I went with to blend in as best as possible. In other words, while the color's were probably not what ILM used, at least all the shades of the base color I chose flow well to comfortably please the eye. Well, at least I hope so!!! All in all, I simply just had fun with it. |
| - assembly - |
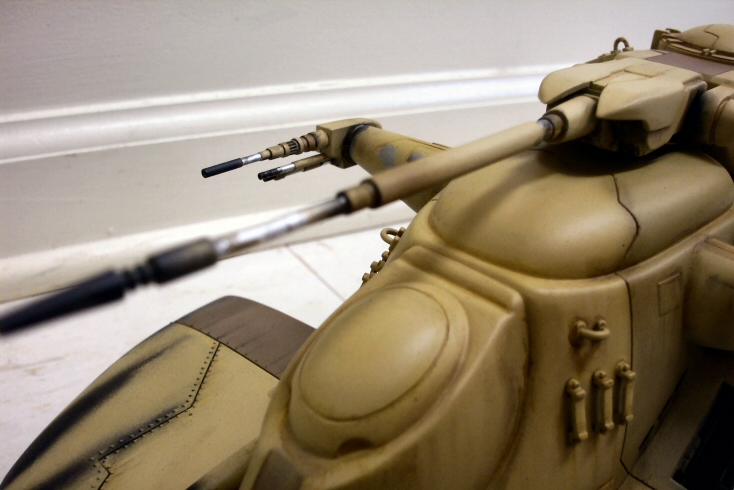
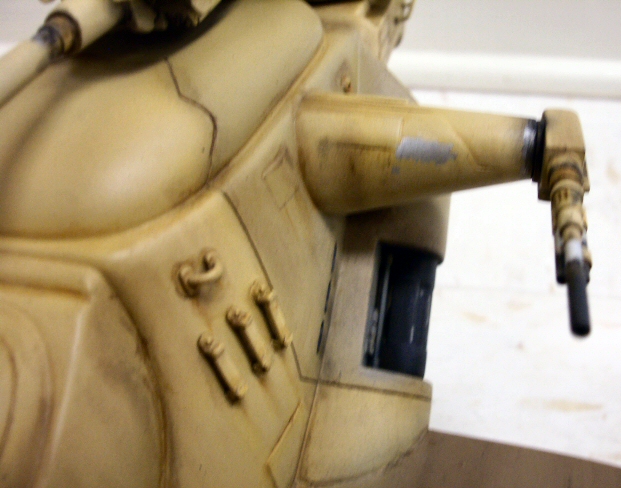
| The kit easily falls together. There are not too many parts and cleanup was simple due to minimal flash. I used super glue (CA) to construct this model but had to repair many joints. I highly recommend something stronger than CA such as epoxy or ProWeld on this kit. The many seams are the only part that will require a little work. This is the first kit I used Bondo Spot Putty on and instantly became a fan! There are some details that could benefit from scratch-building, but this model without modifications still results in a superb build. The only thing I did to modify it was drill out the barrels of the various guns. |
| - painting & weathering - |
| I first primed using Krylon Gray Primer. For the color, I chose to airbrush Ceramcoat paints since I had lots of luck with them for ED-209. I highly recommend these paints to all, especially beginning airbrush users. They are very inexpensive and easily available, a great way to learn how mix paints and to get the effects you want, especially with paint schemes such as the AAT. Ceramcoat may not compare to Tamiya or other brand names but it gets the job done. The only "drawback" is that the finish is flat sometimes a tad grainy (this may be due to the way I mix paints). But when building sci-fi vehicles, that may just be advantageous. Besides, this is a tank...it's supposed to look ugly and beat up. Either way, I always seal with another clear flat, clear semi-gloss or Future, depending on the finish I need. |
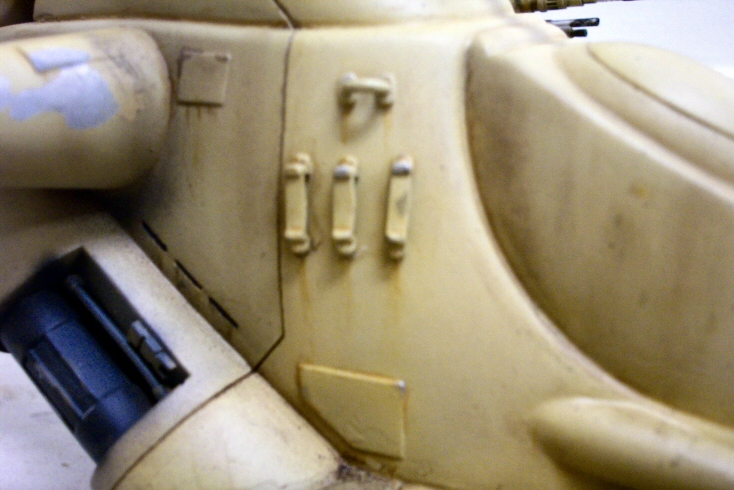
| After experimenting with mixing different paints, I finally chose to use about 5 colors in different combinations for all the shades. Masking was fairly easy with only the back part of the lower hull presenting a slight set back. There are no hull lines present but there is definitely a pattern. I completely covered the area with a piece of paper and drew out the simple pattern as seen on the on-screen AAT. I then cut that out and used it as a template, drawing it onto pieces of tape for both sides. The bottom of the lower hull also presented another problem. I could not find any reference for this part of the ship so I had no idea what colors the different panels underneath were. I just went with what I felt was good. When finished and on it's stand, you wouldn't be able to see it anyway. |
| Well, not everything went as planned. I sealed the paint with a coat of Future to begin weathering. Just as I was doing that, I (for some dumb reason) decided to thin a wash with Windex. See, it's what I use to thin Ceramcoat acrylics. Well, it didn't quite work with the dry coat of Future and began to cut through it when I went to wipe off the excess wash. That's not the bad part! In my panic, I ran the whole model under hot running water. Don't ask! Well, that immediately loosened the paint and began washing it off. DOH!!!!! |
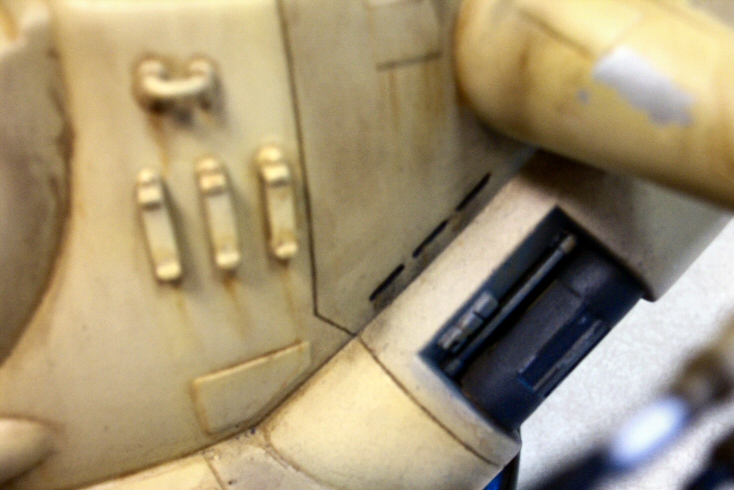
| This may have helped more than harmed, though. I salvaged what I could of the original paint and sanded the edges of where paint had come off. This provided a nice effect of heavy wear, making it seem like some spots on the paint had been damaged in battle and simply painted over after being maintained. Also, I re-mixed some colors I wasn't too happy with such as the brown area on the back portion of the lower hull. Originally, it was a very dark brown. Repairs were made, a new coat of Future was laid down and weathering was continued. I really haven't had the success I would like with chalk pastel washes. They are great for dry-brushing but I really don't like the effect when using it washes. Instead of going the artist oil route (I just wanted to finish this kit) I chose to use a thin acrylic wash. At times, I was even painting the hull lines with a very thin brush. |
| As for the weathering, I just let loose but tried to keep it on the more subtle side. I've seen some heavily weathered AAT's but I wanted to make mine a little less worn. I kinda went overboard with the black marks coming out of the missile tubes. I did my best to soften them up by sanding with steel wool and white pastels. I'm still happy, though. For the rust stains, I used a thin brush and various shades of brown and rust and dry-brushed the streaks on. For the natural metal areas on the guns, I used bare metal. This is the second model I have extensively weathered (the first, an Imp.Shuttle, now lost in my Mom and Dad's storage). Again, developing my skills was one of my concerns and I feel I definitely got that accomplished...maybe not in producing a show quality model but rather learning the effects of using different tools and methods. |
| Sometime during painting, I decided to use the kit provided stand since it is nice and simple and gives the feeling that the model is actually hovering off the ground. I painted it gloss black and polished with car wax. I added the antennas to the top near the hatch last. I then took a step back, breathed a sigh of relief knowing that I finally, after 4 years, finished such an awesome kit. I just wish AMT had continued to deliver more awesome kits like this, the Battle Droid/STAP and Xizor's <em>Virago</em>. If you have any questions or feedback about this model, please email joewhite109@yahoo.com, thanks!!! |
         |
 |
| © Copyright 2005-2014. All photos of actual models are property of Joe Jimenez and cannot be used without permission. |