|
|
I'd seen and admired the products put out by the International Horizontal Yamasaki Student Club (the IHYSC) but never treated myself to any of their kits until I saw this little one! I was dissapointed when I heard that they were sold out but was pleasantly surprised when the owner of FutchFactor.com informed me that he had one Armoured Crab left. Needless to say, I just couldn't pass it up! |
| The kit was mastered by Nik Jardine who has done a fine job designing this neat little mecha crab. I noticed that the symmentry on some parts was a little off but this my no means takes away from how much fun it was to put this little kit together. The crab is meant to be 1/48 scale to tie in with the newer same scale armor kits and also with 28mm wargame figures but I think I'm going with 1/35. I came to the conclusion that the size of he droid looks more impressive in this scale. I'm also going the unmanned droid route. | 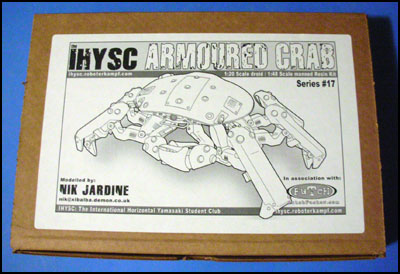 Box Art 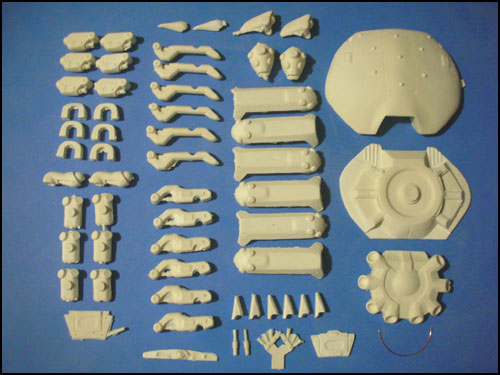 58 Parts |
| The casting on this first run was a little rough which wouldn't have been much of an issue if I didn't have to repeat the same cleanup steps for the six leg assemblies. The most notable flaws were the up to 1/4 inch air bubbles which sometimes resided under important details such as bolts. I used Aves and spot putty to fix most of those problems. Other than that, clean-up consisted of sanding down seamlines and surface bumps. |
| - LEGS - |
| The legs took some time because, again, I had to repeat the same steps six times. Each and every part was pinned for added stability. As with most of my models, I thought it would be best to cut away any resin hydraulic pistons and replace them with aluminum tubing. I also inserted small pieces of tubing into the end of the upper most leg part and "hip" piece to act as hydraulic couplings so that I could install wire to simulate hydraulc hoses. I'm not really going for a100% real working feel however hoses do add a nice touch of realism. Aligning the legs so that they were all angled the same was the trickiest part. The first built leg was used as a template for all the others. |  Leg Assembly 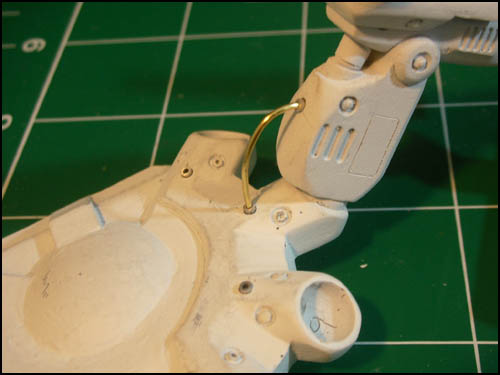 Hose |
| - body - |
| I mentioned before the slight irregularities of this model and they definitely showed when trying to align the upper and lower halves of the main body. I countered gap problems with plastic shins underneath the edge of the lower half so that it didn't sit so sunken in. I then attacked the large seam with Aves and finished it off with spot putty wherever necessary. It does look a little off centered but this actually lends the feeling of a gritty, real life, beat up animal struggling to survive. | 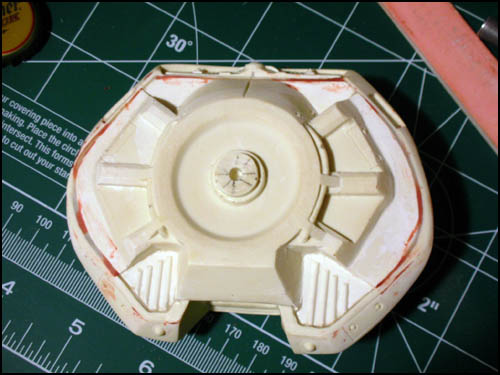 Seam |
| The next area was one I added on my own. I wasn't digging the hatch on the back only because I wanted an unmanned vehicle look. While scrounging through my spares box I stumbled upon a aircraft cockpit tub. It was a perfect way to simulate a sort of engine compartment. The greeblies may not appear to serve a great purpose but I was ultimately looking for a way to give the droid an organic feel. I like the bar running across the top for some reason. Underneath, I rolled a length of copper wire, widened the coils to push against the wall of the tub and the greeblie inside to stay in place without glue. |  New Part 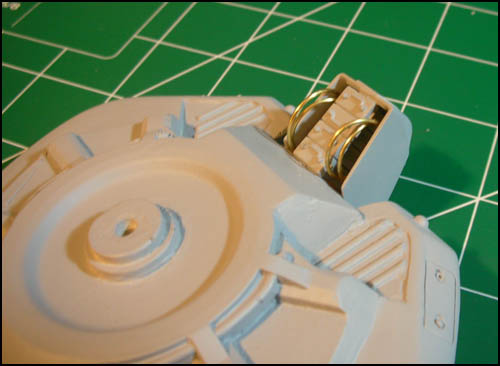 Cables |
| - paint - |
| I knew that I wanted to have some white stripes running down the surfaces of the crab so I started with a base of white primer. Now I would just have to mask any areas that I would want to show through after the main color. To do this, I used masking tape and latex rubber. I purposely made jagged cuts into areas of the masking tape so that once all done, the stripes would appear very worn. Kind of a backwards approach for the intended effect. As far as the latex, once removed, we no had nice little wear and tear paint chips. | 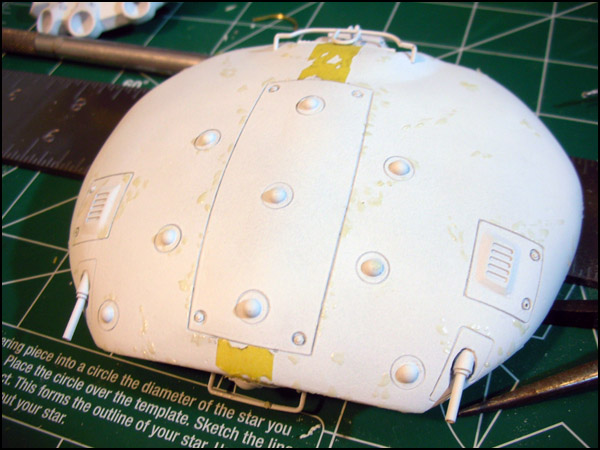 Primer and Mask 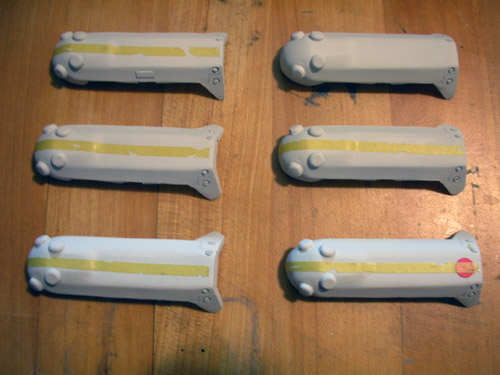 Leg Shields 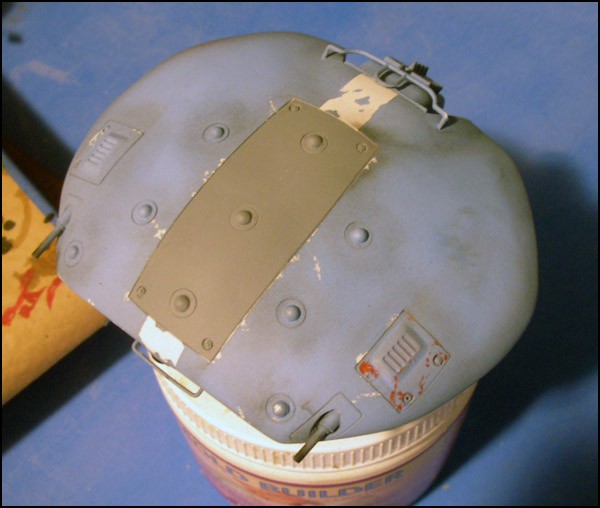 Weathering |
| I really wish I could remember the paint mixture. I decided upon the color by researching the Blue Crab. The actual crab only has blotches of blue. I took the grays and browns from the rest of the crab and subtly tried to mimic them through weathering and different colored panels. I think it's a cool effect because in actuality, for instance, the large panel on the body had probably been changed out due to maintenance ( judging by the burn marks). |
MORE UPDATES COMING SOON...
 |
| © Copyright 2005-2014. All photos of actual models are property of Joe Jimenez and cannot be used without permission. |