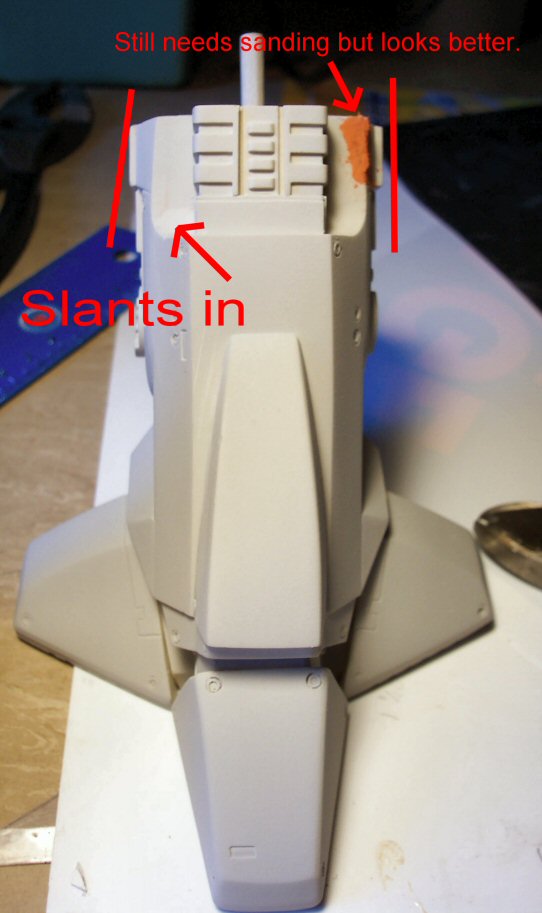
| Things have really been moving...I had the week off after X-Mas (2004) so that helped! I finished one leg and began the other, this time starting with the thigh first since I dreaded having to build up the rails again. I got the hydraulics modified rather quickly and had the chopped up piece sewn up in no time. Fixing the top part of the lower leg was done simultaneously with the thigh. As you can see, both corners slant inwards a bit so I used small strips of styrene and putty to begin building them up so that they look straighter, much like I did on the other leg. Before moving on I thought I would assemble the whole model again real quick just to get another idea of how big the kit is. |

Warped Corners

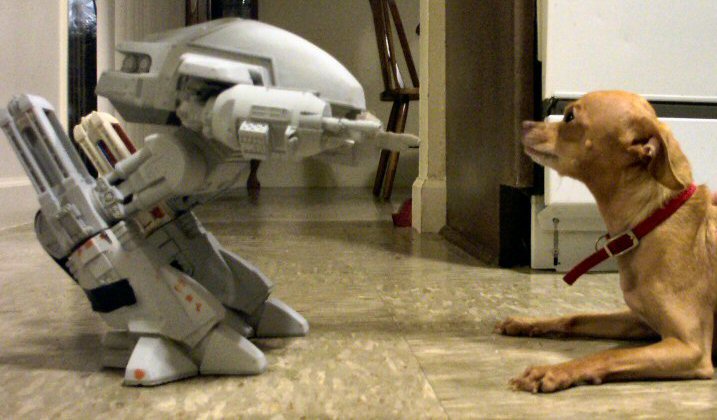
ED-209 vs. Peanut

Fixing The Pose |
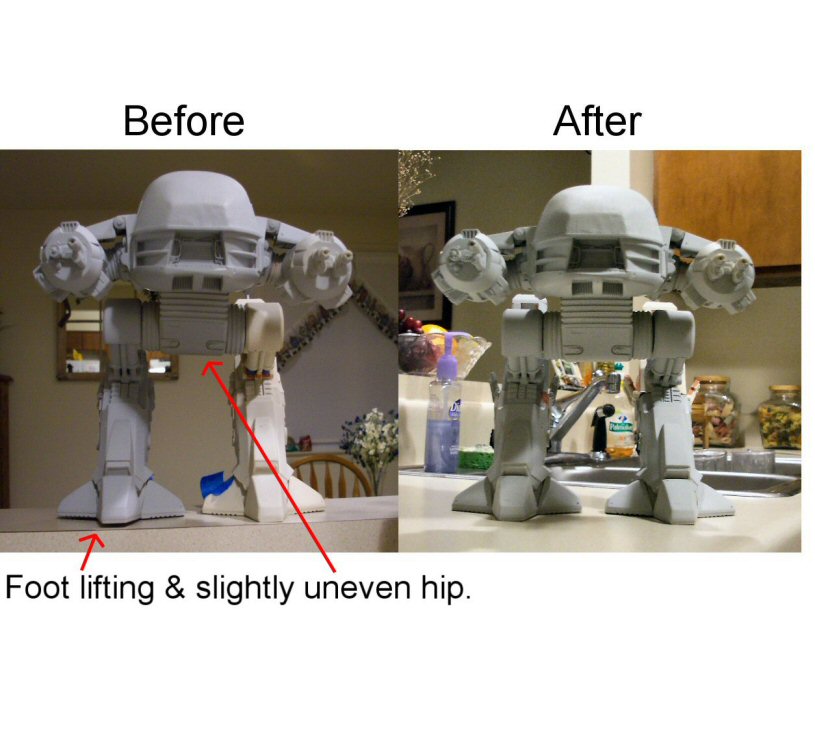
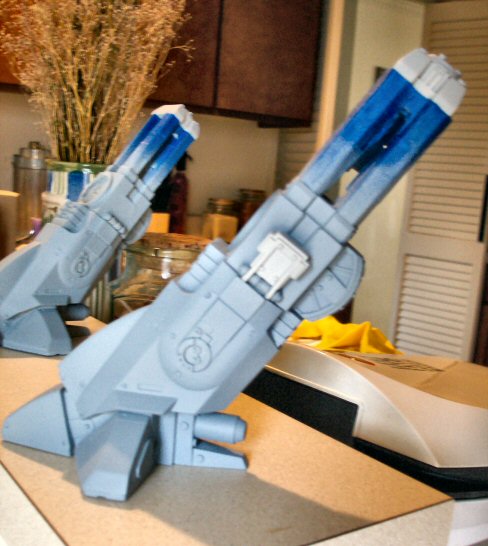
| I used very small drops of super glue and tape to hold it up. I had done this about 8 months back before I began filling it with foam which made the model feel like a toy. I think the foam gives it just the right amount of weight...not too much but enough to give it an added sense of quality. Oh and this kit is big! |
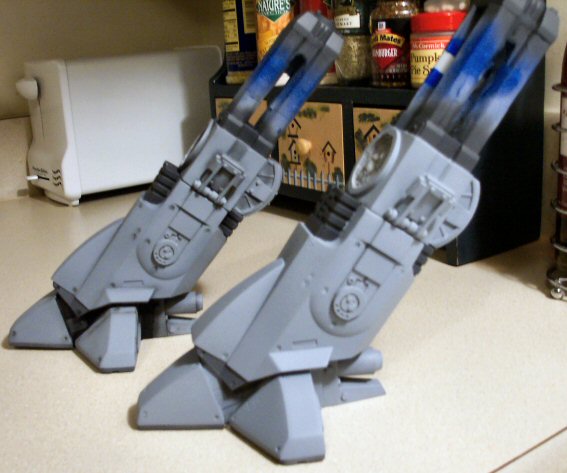
| I'm very glad I decided to do this as I found a few things that may have been a problem if I had proceeded with construction. For one, the right toe was lifting. Also, the right thigh was higher than the left thigh causing the hip to slant a little. I solved this by simply swapping both lower legs and thighs, keeping the rails in their original position. That pretty much did it. |
| The next day I began the rails for the left leg. This time, I didn't have to cut off the cap on top of the rails. I was able to squeeze my fingers in and build up all the walls saving lots of time. With that exception, construction was the same as the other leg. |
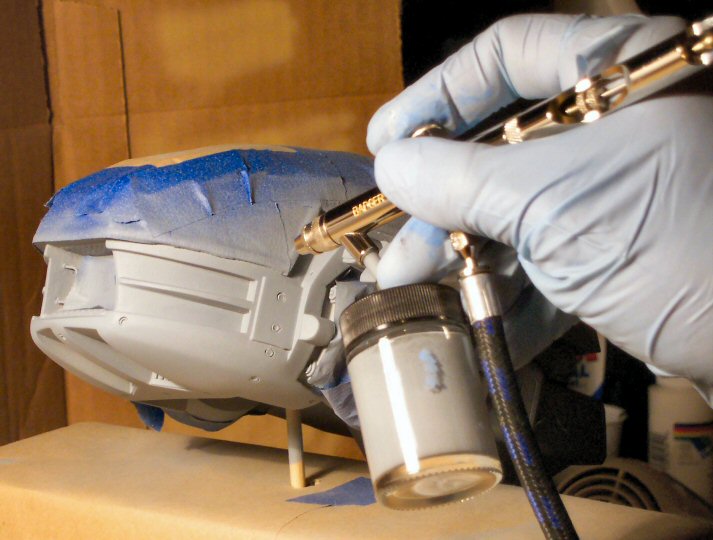
| I let the paint dry overnight and will continue to do so for about 12 more hours. Touch-ups, masking and the application of darker colors on various parts will come next. |

First Coat

Base Coat

Painting Details

Fixing Some Spots |
| You know, I bought my double-action airbrush about a year prior and had not used it until about a month ago because I was a bit intimidated. I did have a single action long ago but only used it a few times. I have decided that airbrushing is one of the most enjoyable aspects of model building, IMO. I've been allowing each new coat of paint to dry off for a few days after which I will add a few coats of Future so that I can mask and paint certain areas darker shades of gray. |
| Some mistakes were made, such as when I completely painted the box things on the upper part of the lower leg a darker grey. In the following pic, you can see what I am talking about. I went back, mixed up some paint and re-touched these areas. I've also had to fix overspray, lifting paint, scraped paint from dropping the model, and scratches in the soft acrylic coat to name a few. Nothing that can't be learned from, I guess. |
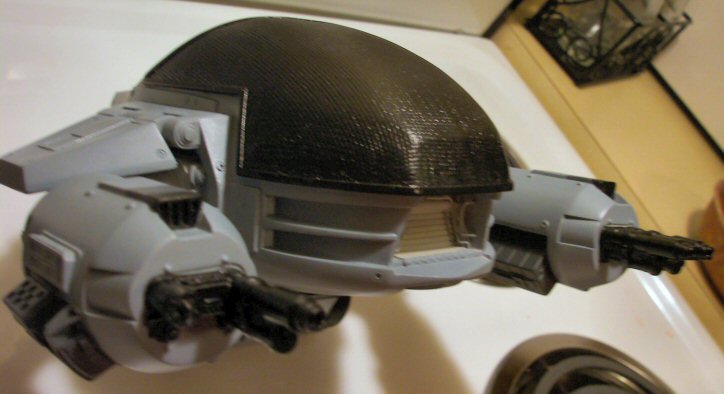
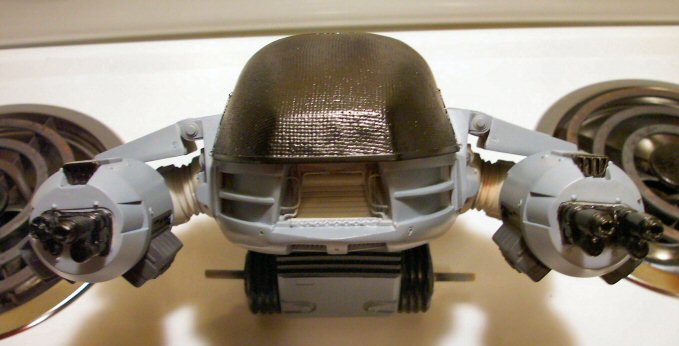
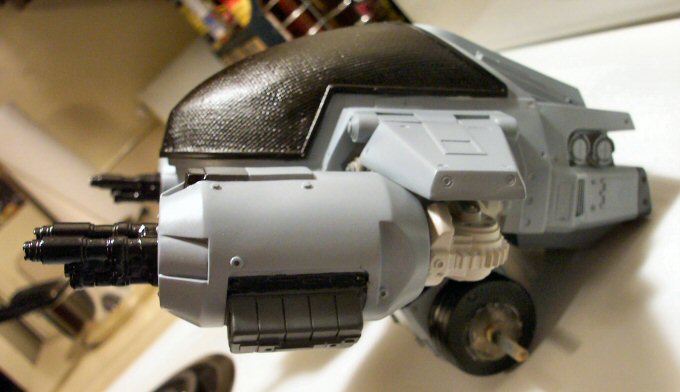
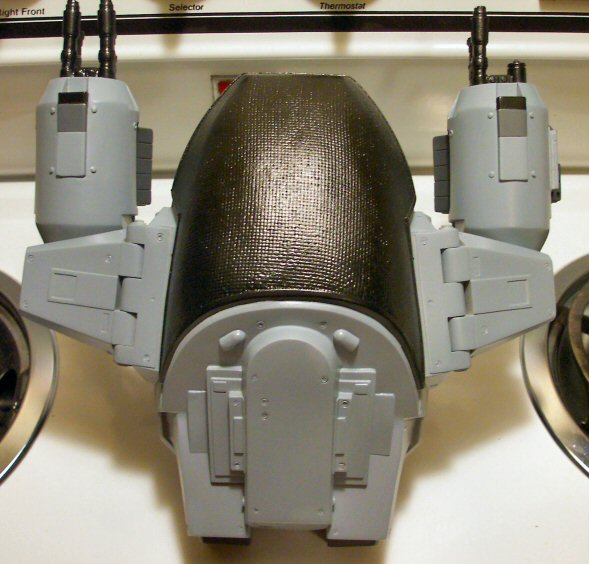
| Painting the front part of the head and guns black were the point where the model started coming to life. I used Testors Acryl Gloss Black. I proceeded to detail some of the metallic areas by using Bare Metal Foil. I was not satisfied with the result, it looked very toyish so I scrapped that. I paid Hobbytown USA in Charlotte, NC a visit and bought some Alclad 2 Aluminum and Polished Aluminum instead. I'm still a bit intimidated by using anything other than acrylics but the heck with it, I'm gonna dive in and try it out! In the meantime, check out some of the recent painted pics of the head. |