| Here's something I wanted to do from the beginning but didn't quite gather up the courage. I have to give credit to Ken Rice, once again, because he had already modified this area on his kit. |

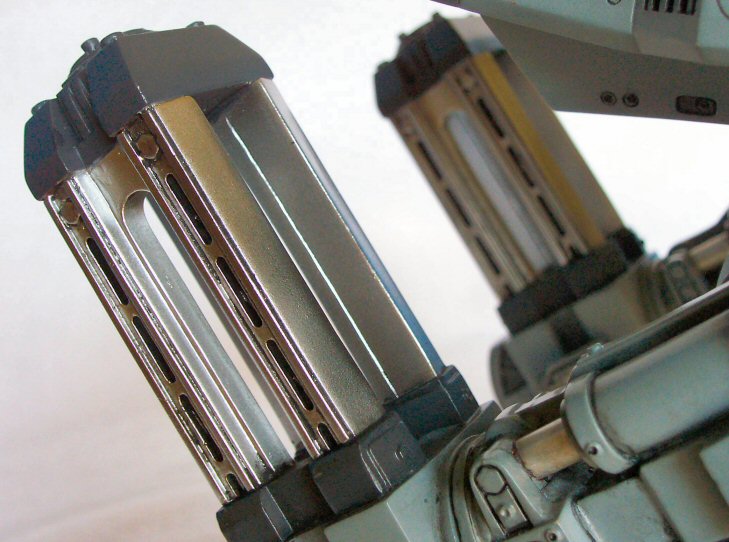
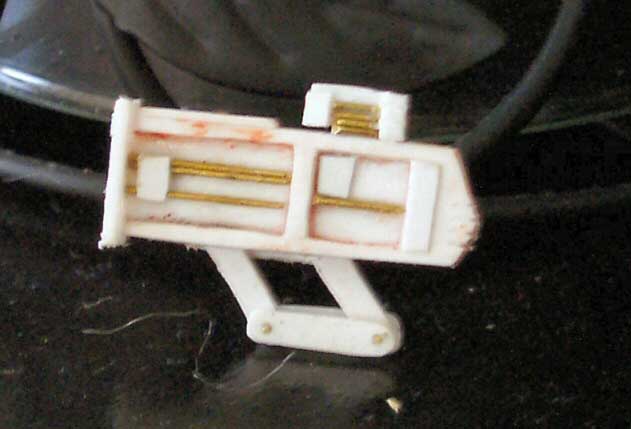
Alclad II

Painted Rails

Thanks, Ken! |
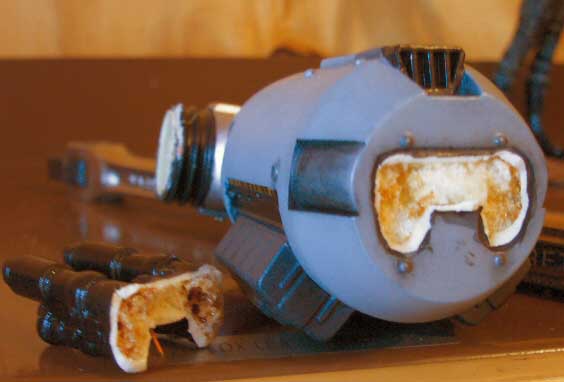
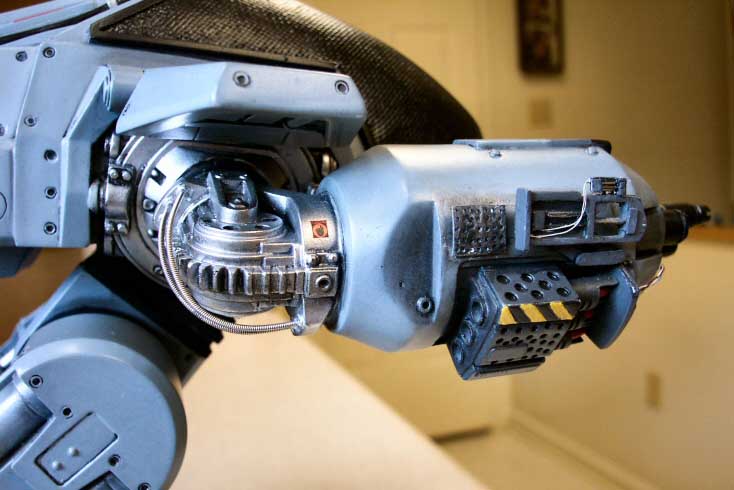
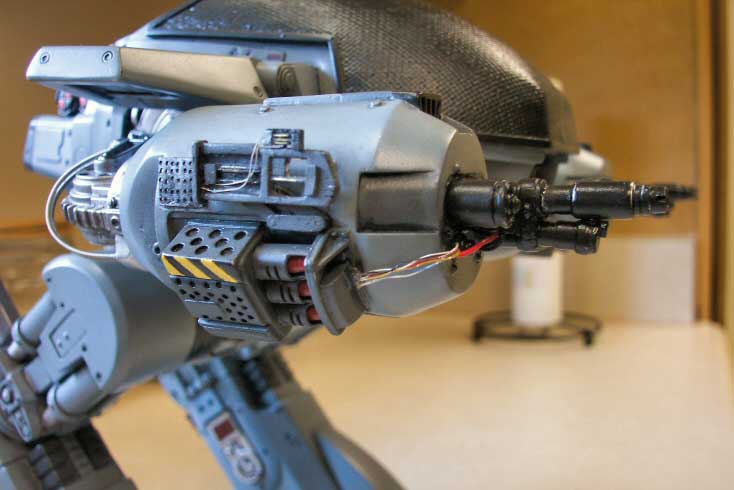
| As you can see, the guns cleanly snapped off when the model fell. I proceeded to cut the forward half of the barrels and the smaller tubes underneath. I scratched everything with various diameter tubing. For the cap part at the end of the small tube underneath the barrels, I carefully trimmed them off of the kit guns, glued in place and filled the gaps with putty. |
| Afterwards, I took some toothpicks and glued them into the foam to serve as support for the new guns. I then used CA glue and accelerator to glue the base of the guns to the arm and I then filled the seams with putty. The result was much better than the kit guns! |
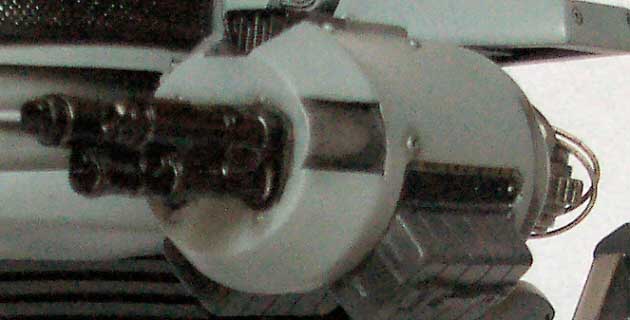
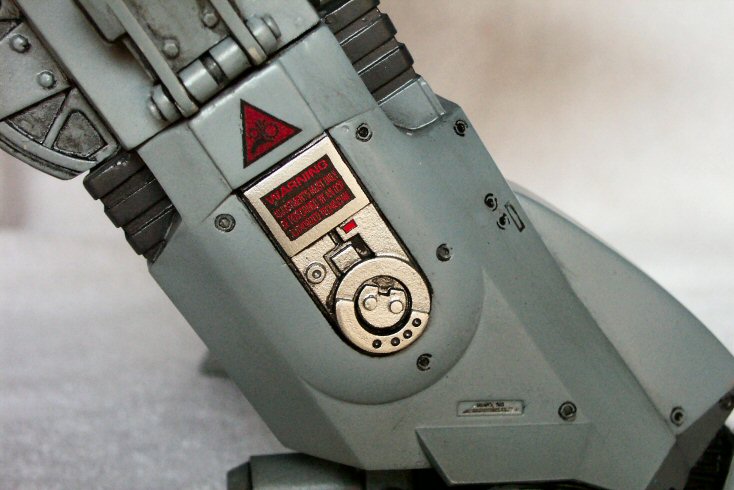
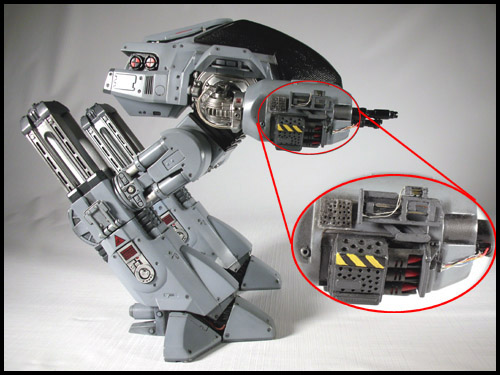
| Next in line was the missile targeting sensor (at least that's what I think it is). I was disappointed with having to look at the plain detail of the kit so I finally took the time to modify it, something else I planned to do but never got around to. |

Scratch-Built Sensor

Dry Fit

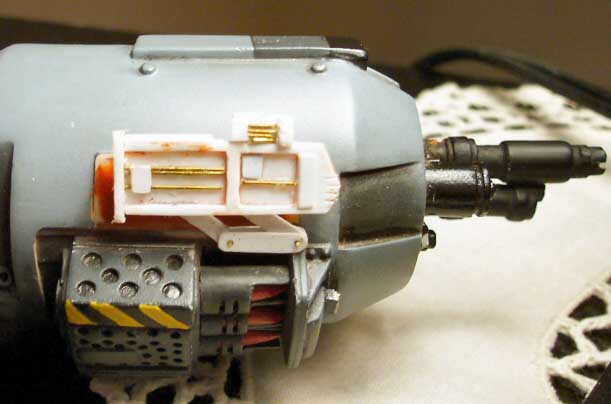
Metal Plate

Painted & Glued On

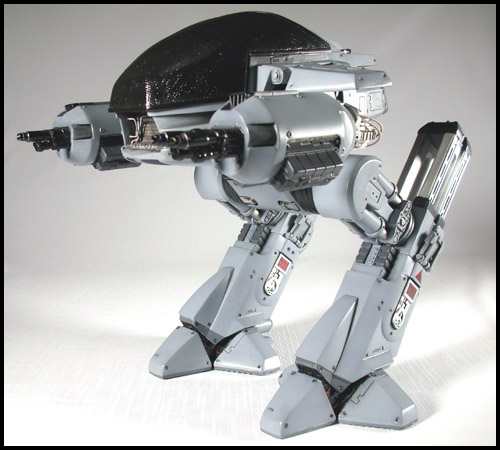
On Patrol |
| I cut out the old targeting sensor and laid down a piece of styrene to patch up the hole. Putty, super glue and a sanding stick were used to smooth out the area. I then took some reference pics of the targeting sensor and went to work. 28 pieces of styrene and wire were used to scratch-build the sensor. It's a tad too big but that's ok. I even rigged it too move. Something I hadn't planned on but rather fell into place during construction. |
| At the same time I also scratched the small plate behind the sensor. This was simple. I cut a square piece of styrene and drilled holes with the smallest drill bit I have. |
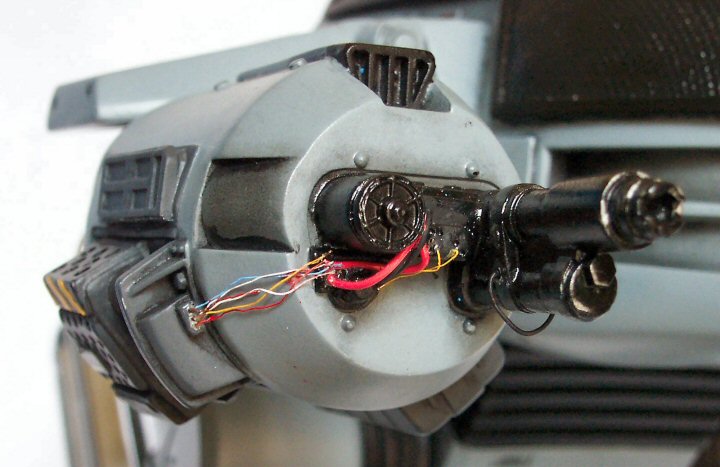
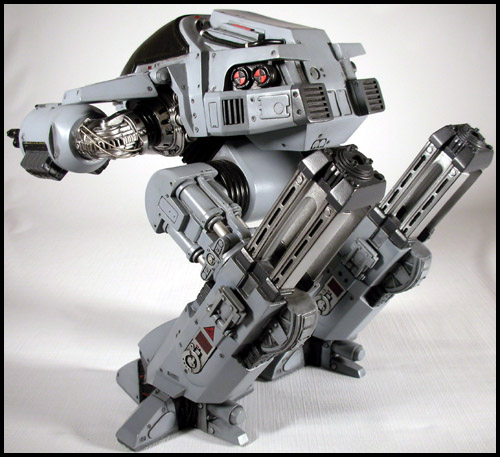
| I finished off the sensor by painting it and adding a wash to bring out the details. Next, I finally re-wired the gun and missile launcher. I love the effect that this creates. Again, I used the inner copper strands of a piece of wire to make the smaller cables leading into the missile launcher. For the red and black cables I used thin wiring. I went ahead and added a couple of strands to the sensor, as well. |
| Finally, I touched up the "ammo buckets" on the bottom of the arm. Originally, I painted them all grey. But, the center strip should be black so that's what I did. |
| Alas!!!! I am finished once again!!!! I'm glad my son accidently broke Ed. Otherwise, I probably wouldn't have decided to go farther with the detail. If you have any questions or feedback about this model, please email joewhite109@yahoo.com...thanks for looking! |